
Image Compressor Tool Using PHP with Source Code
Welcome to the Image Compressor Tool, a web-based application designed to streamline the process of image compression. This tool allows users to effortlessly upload their images, preview both the original and compressed versions, and download the optimized images directly. The main aim is to significantly reduce image file sizes while preserving acceptable quality, making it easier to manage images for web usage, email attachments, and storage optimization.
This user-friendly application is built using PHP, HTML5, CSS3, and JavaScript, with the GD library handling the image processing. The intuitive interface ensures a seamless experience, allowing users to quickly compress images with just a few clicks. Whether you’re a web developer, designer, or just looking to optimize your image collection, this tool provides an efficient solution for all your image compression needs.
You may also check this simple HTML, CSS and JavaScript projects:
Features
- Image Upload: Users can upload images directly from their local device.
- Image Preview: The application displays a preview of the uploaded image before and after compression.
- Compression: The tool compresses the uploaded image, significantly reducing its file size.
- File Size Display: The original and compressed file sizes are displayed for comparison.
- Download Option: Users can download the compressed image directly from the web interface.
- User-Friendly Interface: A simple and intuitive interface that is easy to use.
Technologies Used
- PHP: The server-side scripting language used for handling the image compression process.
- HTML5: Provides the structure and layout for the web interface.
- CSS3: Used for styling the application and creating a responsive, visually appealing design.
- JavaScript: Enhances user interaction by handling image previews and AJAX requests for compression.
- GD Library: A PHP library used for image processing and compression.
How to Use
- Access the Application: Open the application in your web browser.
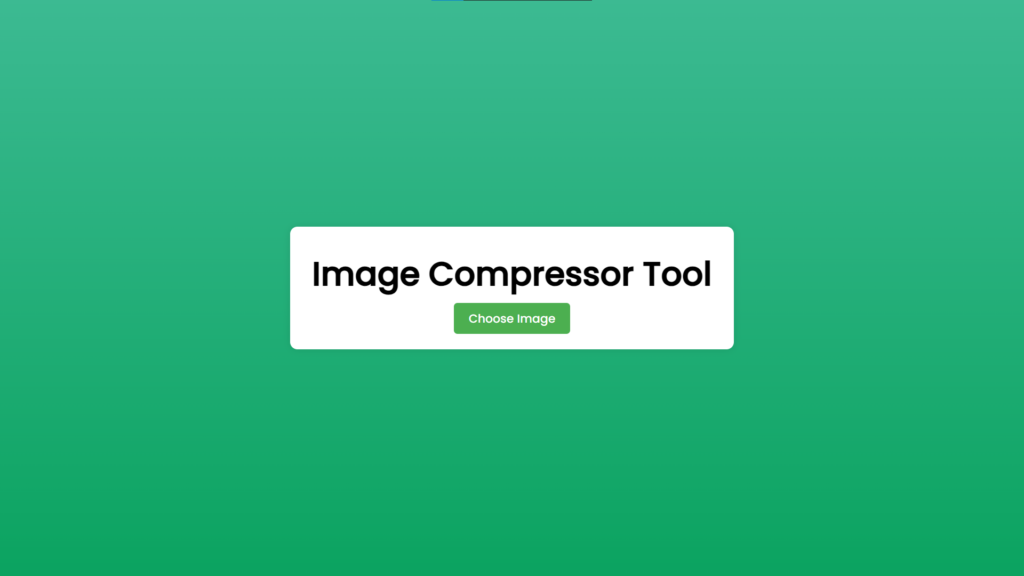
- Upload an Image: Click on the “Choose Image” button to select an image file from your device.
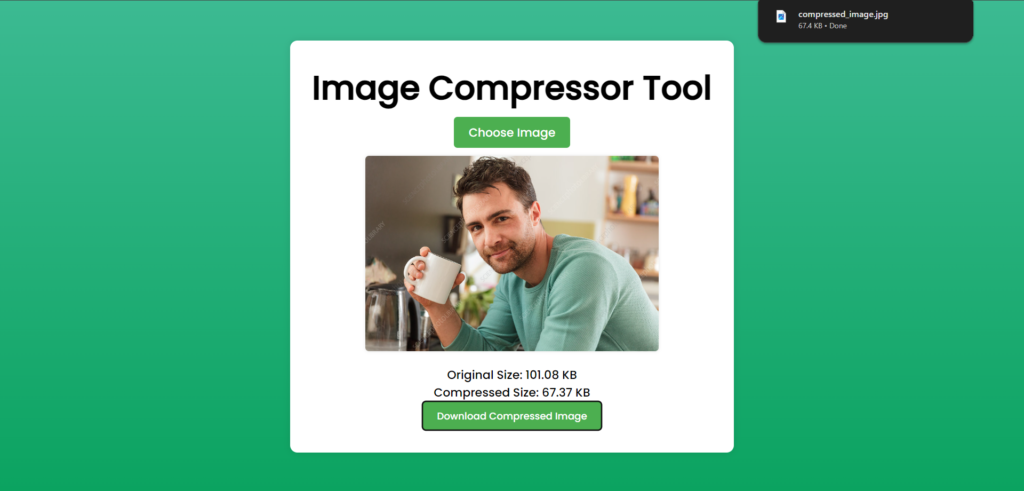
- View Preview: Once the image is selected, a preview will be displayed along with its original size.
- Compress the Image: Click on the “Compress Image” button to start the compression process.
- Compare Sizes: After compression, the application will display both the original and compressed file sizes.
- Download the Compressed Image: A “Download Compressed Image” button will appear, allowing you to download the compressed version of the image.
Sample Screenshots of the Project:
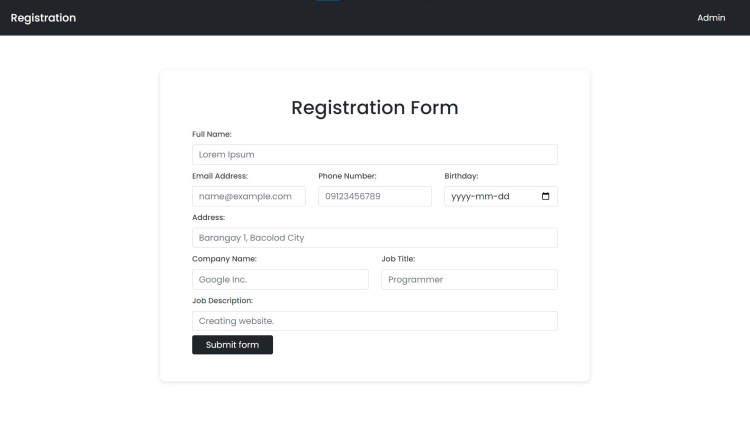
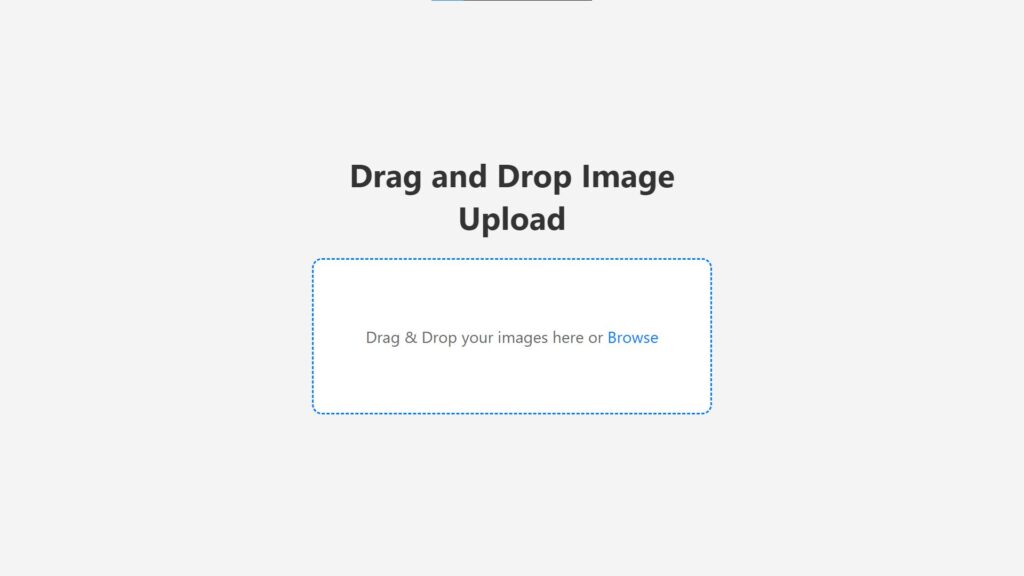
Landing Page
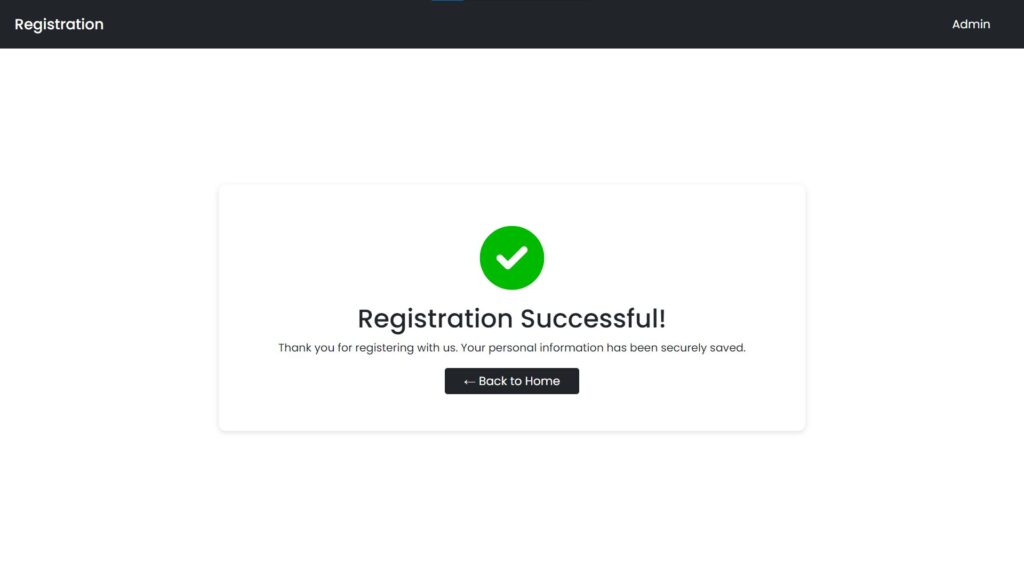
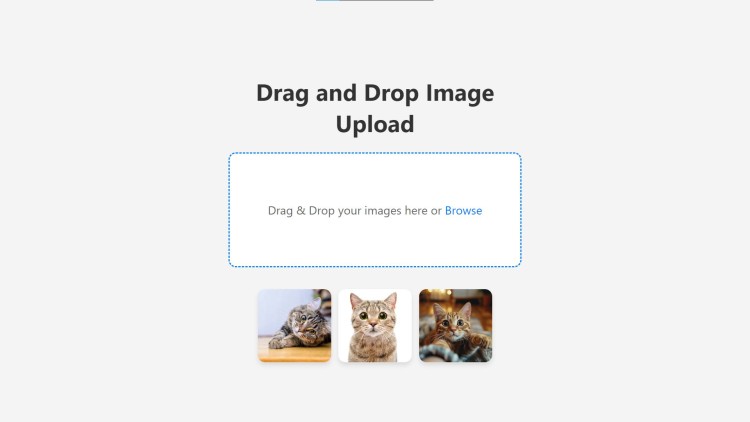
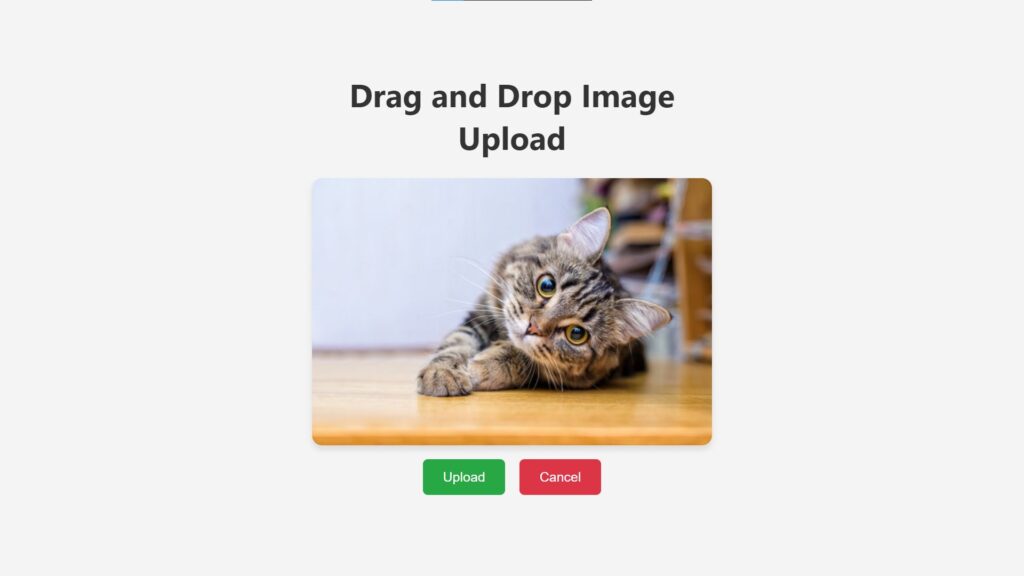
Upload Image
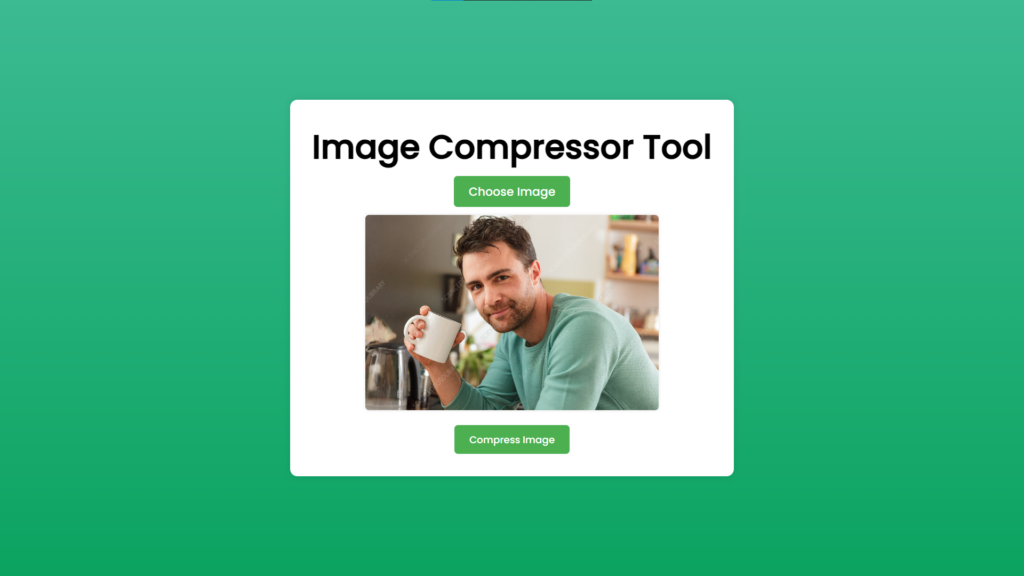
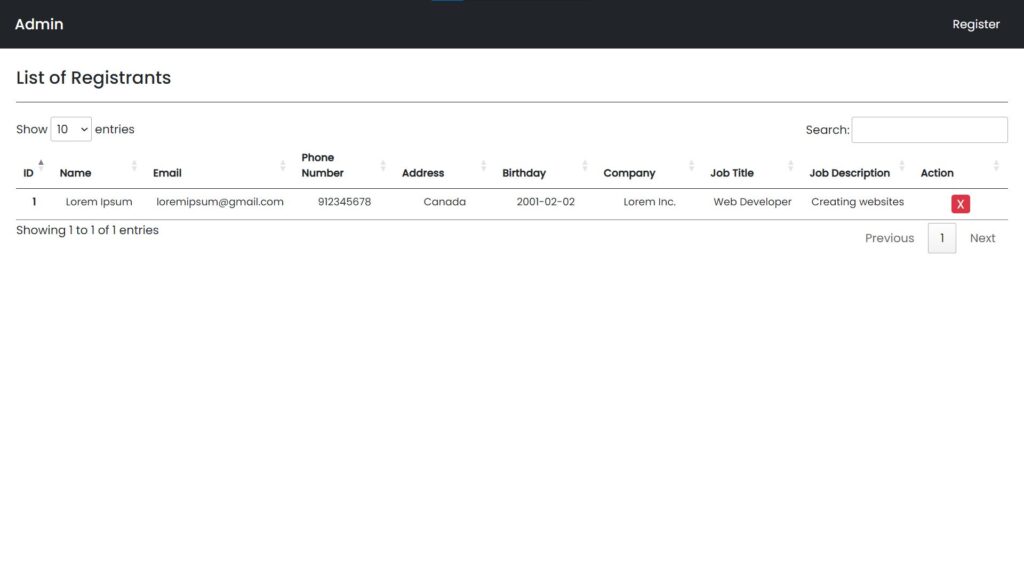
Compress Image
How to Run?
- Download and Install XAMPP.
- Download the provided source code zip file.
- Extract the provided source code to the htdocs folder.
- Open your browser with the link “http://localhost/image-compressor-tool/”.
Conclusion:
In conclusion, the Image Compressor Tool Using PHP provides a powerful and user-friendly solution for reducing image file sizes without sacrificing quality. Leveraging the capabilities of PHP and the GD library, this tool makes it easy to upload, preview, compress, and download images in a streamlined and efficient manner. Whether for web development, digital marketing, or personal use, this tool is an invaluable resource for managing and optimizing images effectively.
That’s it! I hope this “Image Compressor Tool Using PHP” will assist you on your programming journey, providing value to your current and upcoming PHP projects.
For additional tutorials and free source code, explore our websites.
Enjoy Coding :>>
Note: Due to the size or complexity of this submission, the author has submitted it as a .zip file to shorten your download time. After downloading it, you will need a program like Winzip to decompress it.
Virus note: All files are scanned once-a-day by SourceCodester.com for viruses, but new viruses come out every day, so no prevention program can catch 100% of them.
FOR YOUR OWN SAFETY, PLEASE:
1. Re-scan downloaded files using your personal virus checker before using it.
2. NEVER, EVER run compiled files (.exe’s, .ocx’s, .dll’s etc.)–only run source code.